What are Google web stories? A comprehensive guide to the new Google web stories WordPress plugin
The Google web stories WordPress plugin came out of beta on September 22nd. Since, there’s been a lot of noise around this new form of creating SEO content from Google.
Here’s everything you need to know.
What are Google web stories?
Google web stories are basically the search engine version of social media stories. With their mobile-first dimensions and emphasis on video and visual content, web stories are a way of bringing the search experience into 2020.
Web stories take the format of up to 30 pages of content which you can click through like a social media story, and they appear in Google’s search results and Discover page.
They’re a form of AMP (Accelerated Mobile Pages), and according to Google, are for quick and easy consumption by busy people.
What is AMP?
Accelerated Mobile Pages or AMP is a Google initiative to encourage the internet to be more mobile friendly. It includes an open source HTML framework which allows developers to create lightweight pages with fast loading times. Technically, the AMP criteria aren’t an SEO ranking factor, but fast loading speed is rewarded by appearing higher up in search results.
AMP Web Stories are a development of this, as they provide easy to read content that’s engaging, enjoyable and visually pleasing.
What are the benefits of Google Web Stories?
Web stories are new
Because they’re a new offering from Google, they’re likely to be prioritised on search results. This makes them an easy way to outrank your competition and show that you’re ahead of the curve.
Also, because they’re relatively new, there aren’t that many of them. This means producing engaging web stories is a sure fire way to rank highly for your key terms.
Web stories are fun to read
Because they’re easy, fast-loading, enjoyable content, your users will love them. A good web story makes reading an article feel like being on instagram, so it’s a great way to keep users enthralled while you explain your products or services. Google describes them as a way to ‘engage with your audience via the power of storytelling on the open web.’
Web stories are easy to make
With a little tweaking of dimensions, they can double up as Instagram and Facebook stories. This means you can use them to power-up your socials, making a little content go a long way.
They also each have their own url, making them easy to share and link to.
Can you use tracking on Google web stories? Yes!
They also have similar analytics tracking capabilities as normal websites, meaning you can track behaviour and user engagement and learn more about your consumers.
The Web Stories WordPress plugin
Originally launched in beta earlier in 2020, the WordPress plugin is an app you can install on your WordPress dashboard with an in-built wysiwyg editor and instant integration between stories and your site.
This is kind of a big deal, as previously the main way of making web stories was through coding them, which obviously requires a lot of time and experience, or through third party editors, many of which are either very expensive or ineffective. If you are interested in coding a web story, check out this great article from AMP on how.
With the WordPress plugin, you can create and edit stories, and then publish them straight onto your site. That said, having just come out of beta, the plugin still needs some work. There’s a few important things you need to do that require other tools, which we’ll cover further on.
How do you install the Google Web Stories WordPress plugin?
There are two ways to install the new plugin.
Either go to your WordPress dashboard and click Plugins > Add New. Search for ‘Web Stories’, and you’ll see this box. Click Install. Then look in your ‘Installed Plugins’ and activate it.
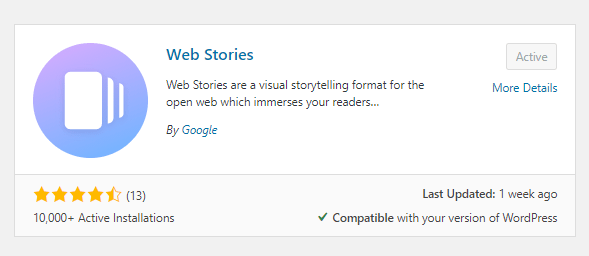

You can also manually download the WordPress plugin here. If you press Download, you’ll get a zip folder called web-stories. All you need to do is upload the whole folder to the /wp-content/plugins/ directory. Then just go to the Plugins page on your WordPress dashboard and activate it.
How to use the Google web stories WordPress plugin interface
While the interface is fairly straight forward, there are a few important things not to miss that aren’t necessarily intuitive.
Firstly, if you click Stories in the menu it will take you to the Web Stories Dashboard. This is a very user-friendly interface where you can see what stories you have in Draft and Published. However, we’ve found the dashboard doesn’t always work, and sometimes doesn’t show updates or stories you’ve published. If you have the same problem, just click ‘All Stories’ in the drop-down menu and you’ll be able to see a familiar WordPress-style table with all of the stories you’ve made and the information about them.
How do you create Google web stories?
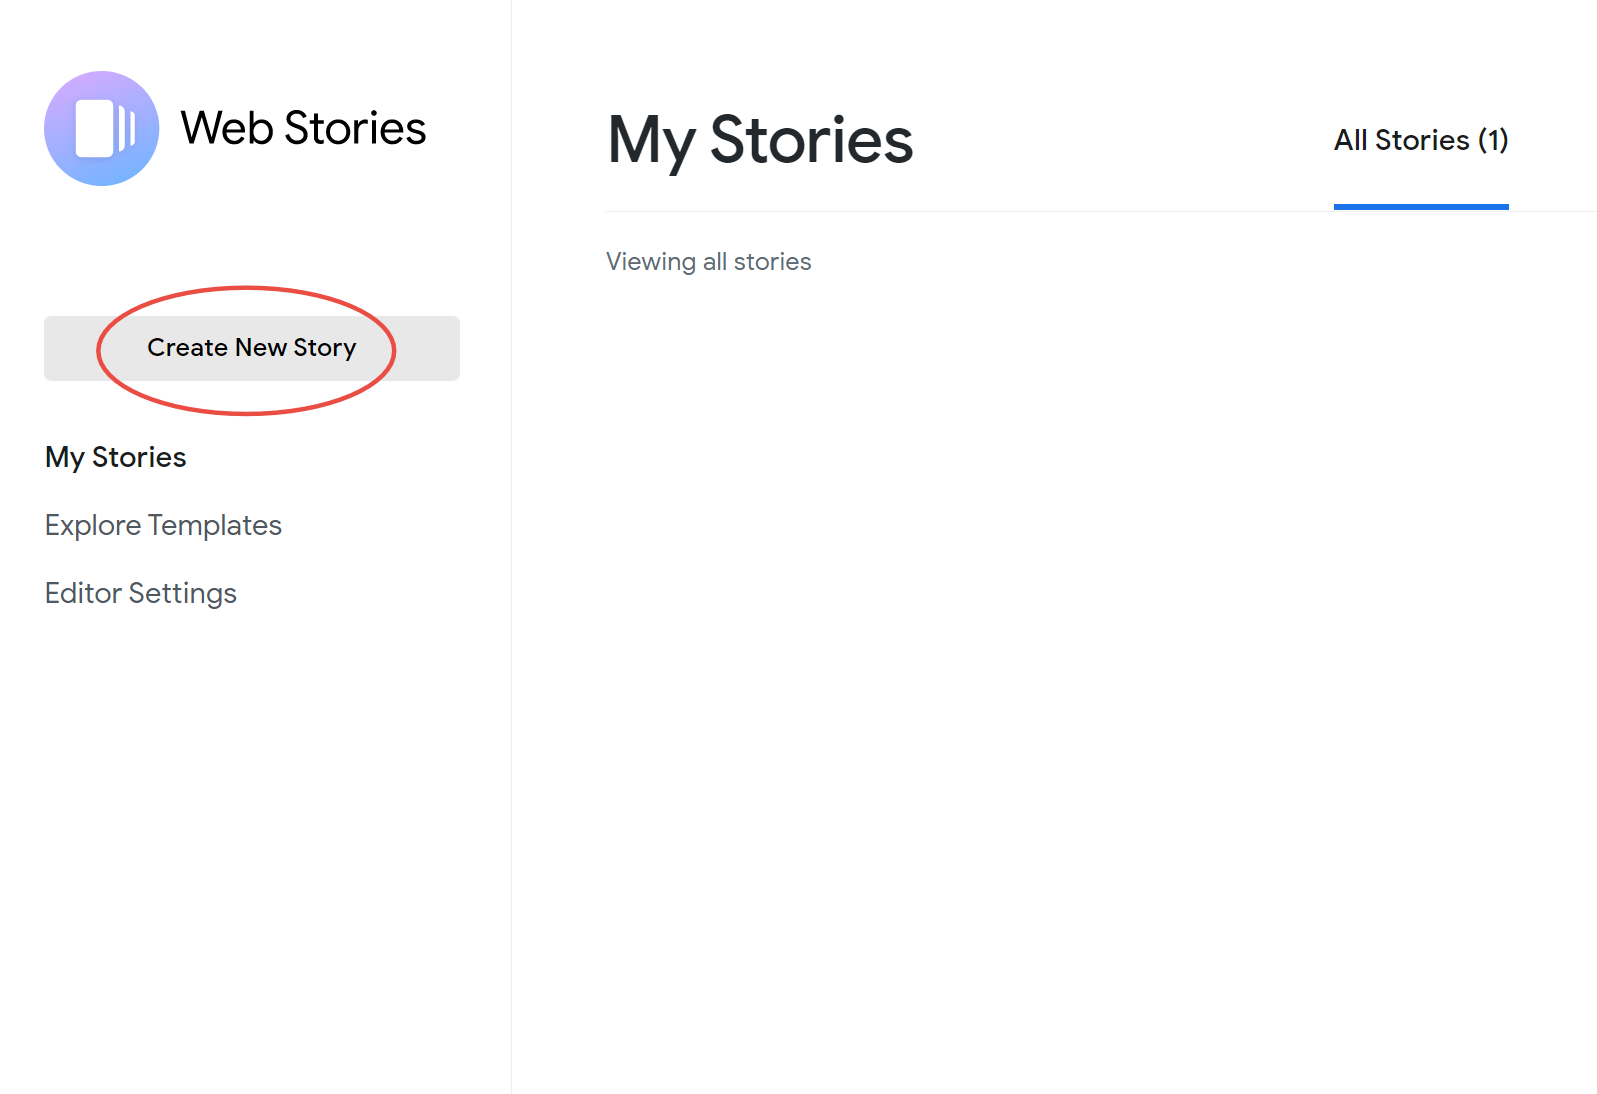
To get started, just click ‘Add New’ in the Web Stories plugin menu, or if you’re in the dashboard, press the ‘Create New Story’ button in the top left.

Like many WYSIWYG editors, the plugin has tools on the left for adding uploads, images, text and shapes. The plugin has images from Unsplash and videos from coverr, so there’s a lot to choose from. It’s also worth noting that the shapes available can act as placeholders for images!
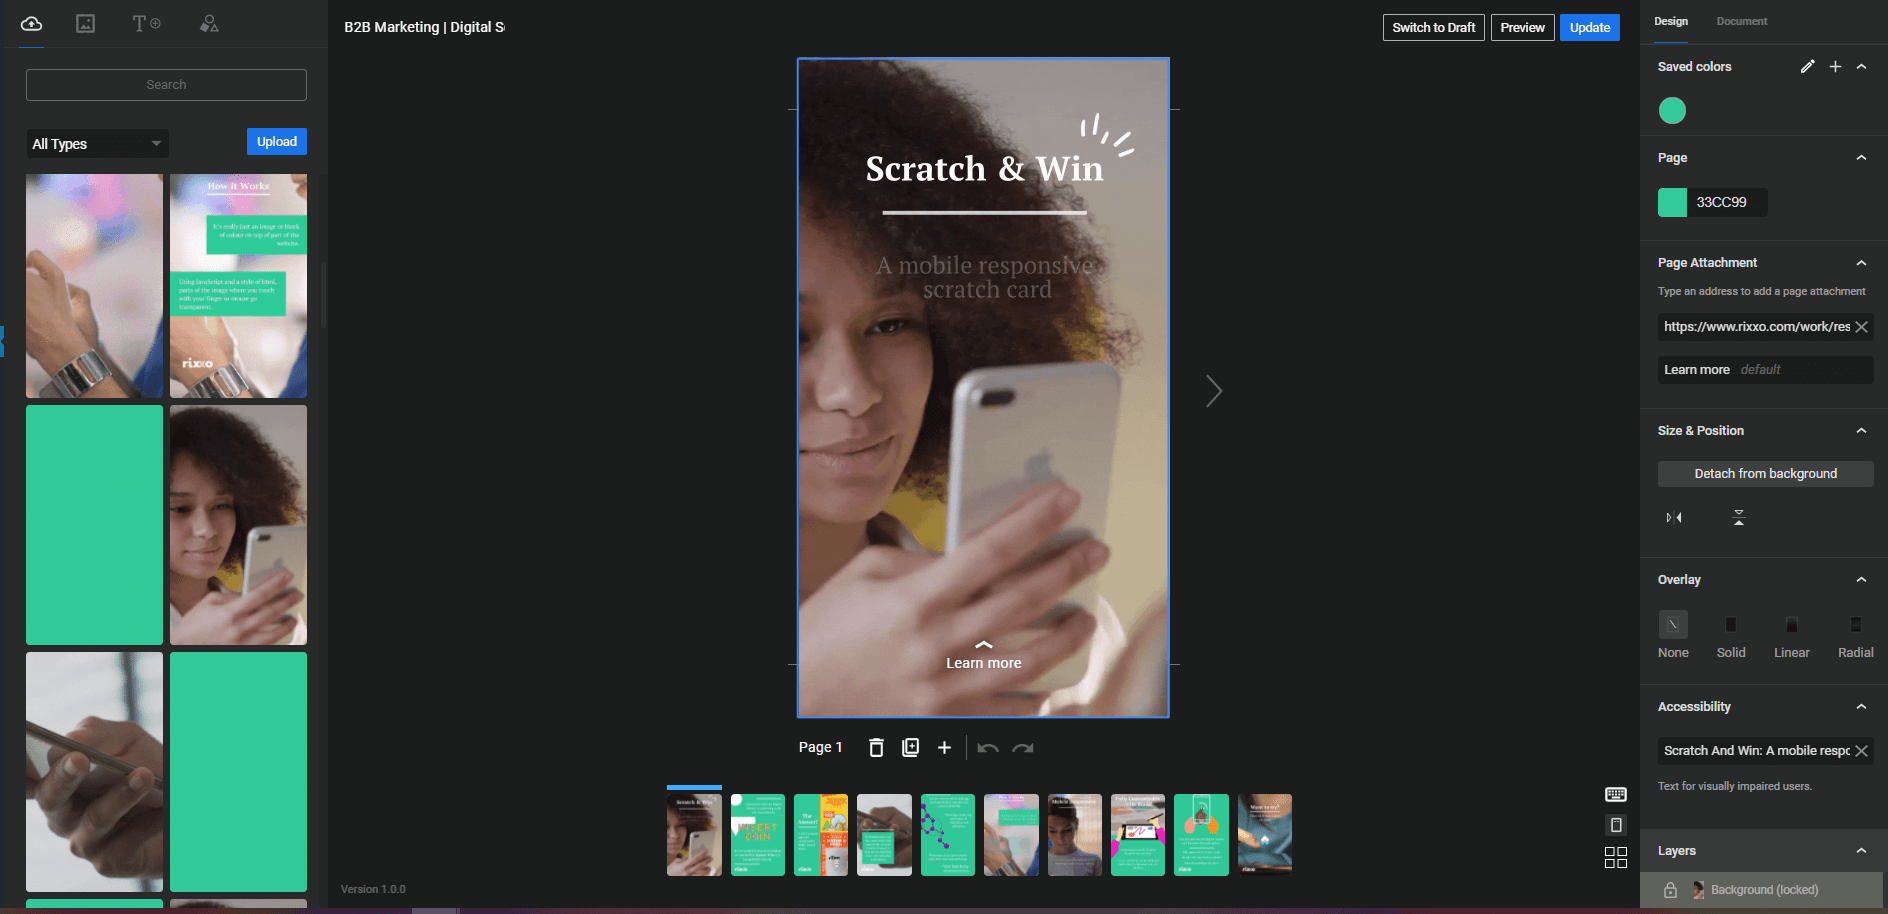

The tools available are still relatively basic, but there are some web-story templates for you to choose from in the Dashboard.
On the right you have Layers at the bottom, and then a choice between Design and Document. Design is specific to each page and will open when you click the page you’re on. Through this you can set a background colour and add a ‘Page Attachment’, which is a link users go to when they swipe up (again, like on Instagram). You can also add an overlay and text descriptions for visually impaired users.
Under document you have all of the publishing tools: when, who etc. Here you can set the permalink for your story and the cover image, which is very important as it’s the image users will see when deciding whether or not to view your story. The cover image is different dimensions to the main story size, which we’ll cover in the next section.
The document tab also lets you set Page Advancement, which is how long the story will remain on each page. You can also turn this to manual, which means users manually click to advance to the next page. Finally, don’t forget the excerpt: this is where you describe what the story is, which will appear next to your cover image. You’ve got 200 characters to inform and entice your reader into clicking your story, so make it count.
How do you edit a web story?
If you spot a mistake or want to change something, no problem – web stories are editable even after they are published.
To edit a story, go to the All Stories page and mousing over the title, ‘edit’ will appear under the text. If your dashboard is working, you can also click on a story within the dashboard and that will open the editor.
Why isn’t my web story working?
We ran into a few issues when we first started making web stories so we thought we’d share them here.
Set a background
Make sure to set a background on each page. If you upload mp4s without a background, they won’t get through the AMP test. Instead, upload your videos as gifs in the correct dimensions and set them as the background. This way you’ll meet the necessary conditions!
If you’re using a WordPress caching plugin
If you are using a WordPress caching plugin then you may run into issues. The web stories plugin loads third party JS in and if you have bundling or modification turns on then it fails the AMP testing.
You may find an error message in your console like this:
‘No “poster” attribute has been provided for amp-video‘
There is some kind of regex search looking for you to include the JS from cdn.ampproject.org, which fails when minified.
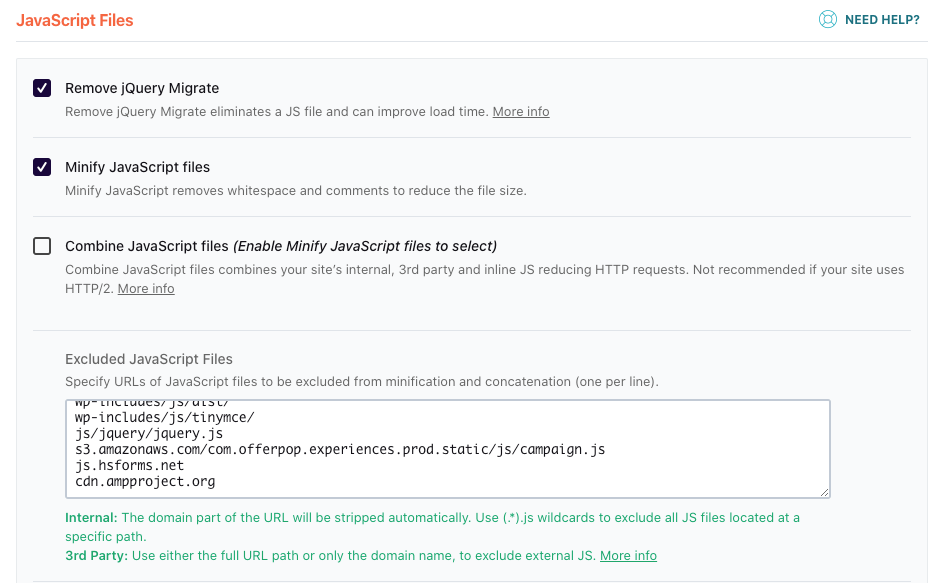
To make sure this doesn’t happen, you need to exclude all files from cdn.ampproject.org in your caching plugin from minification or bundling.
We use WP Rocket so it looks like this:

How do I make a good Google web story?
Let’s start with the basics.
Google Web Story dimensions
The dimensions are 720 x 1280px. But be careful – there’s a ‘safe zone’ inside this which indicates where the top and bottom of the story are less readable – this is 83px from the top and bottom, so try and avoid putting anything crucial in those sections when you’re creating your story.
Words and font sizes
Google encourages you to have 10 words (200 characters) or less a page, and 10 words (40 characters) or less for your title. The minimum font size is 24px.
Quite a few of the example stories go over this words per-page count, but try to stick as close to it as you can. If you need to go way over, then include that content as a page attachment, which allows users to swipe up and read longer copy.
Optimum length for a Web Story
The maximum length is 30 pages, the minimum is 5. Ideally, you want to be creating a web story with 10 – 20 pages.
Video and visuals
It’s best to use short videos of under 15 seconds. If you’re going to upload your own images make sure they’re high quality and portrait. It is possible to embed social posts within the stories, but if you do add the title and description of the post above or below it. Try to stick to a theme throughout the story with your choice of colours, images and fonts.
AMP has a great illustrated guide with more tips on how to design an appealing web story.
How to test web stories
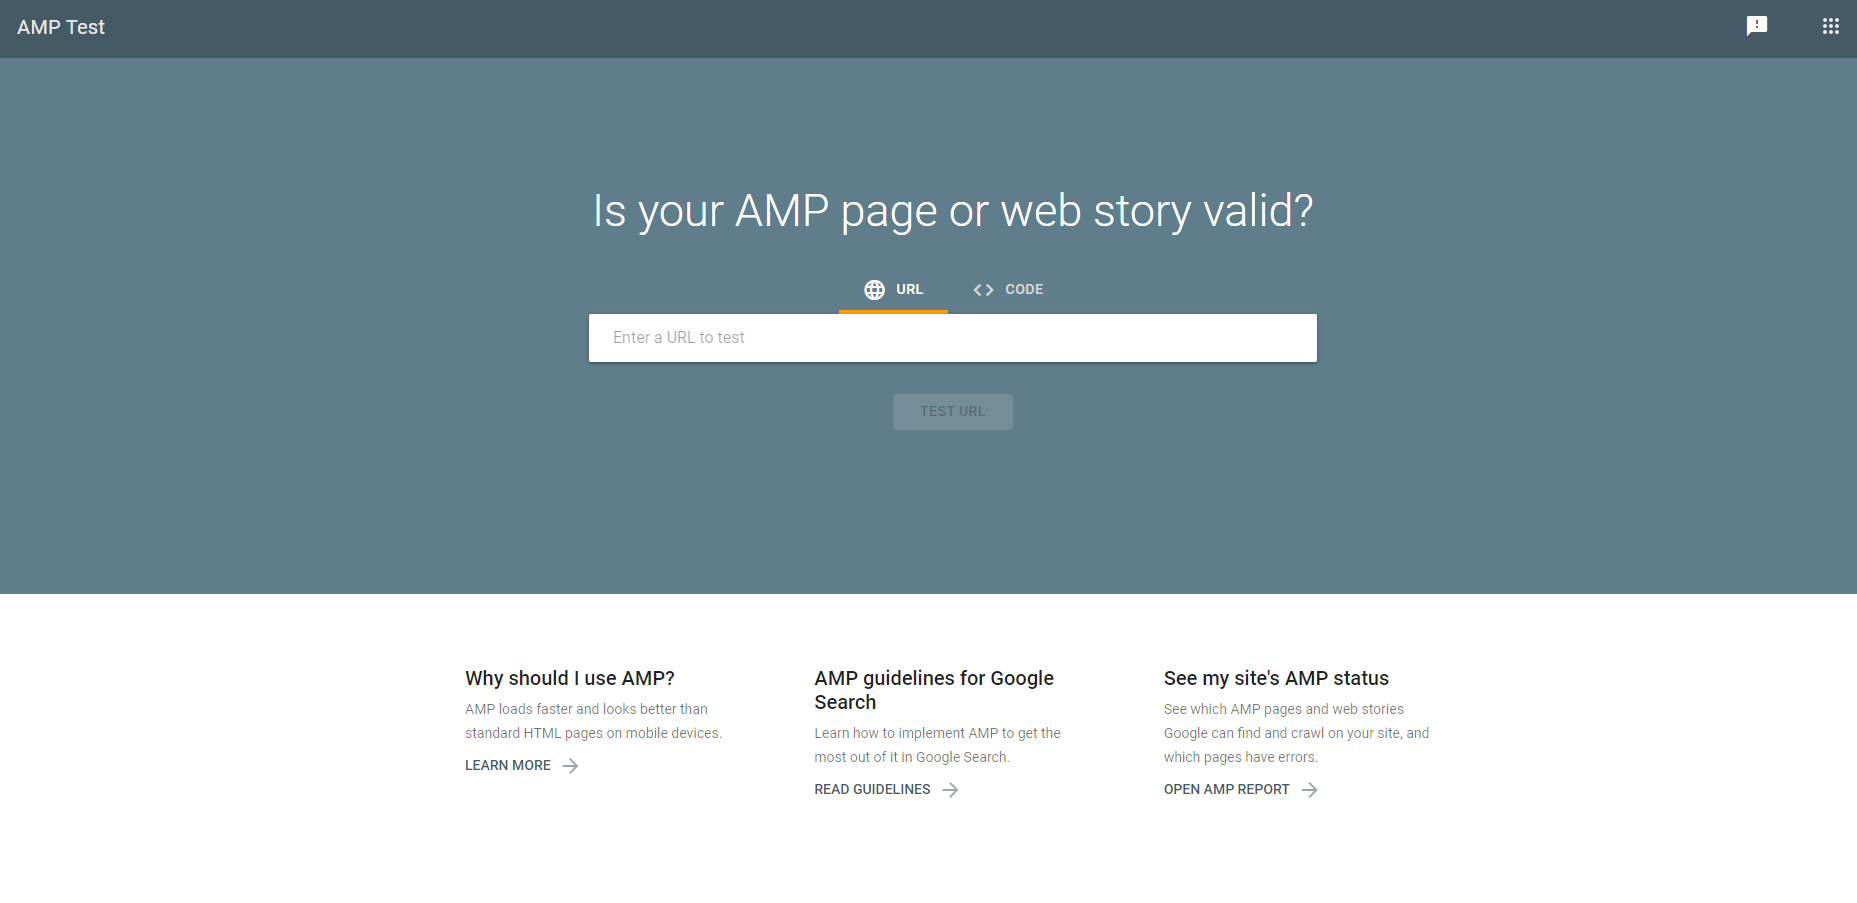
You can view your web story at the url you created in the permalink section of the Document tab. If you want to test it to see if it passes the AMP criteria (hint: do this!) then go to the AMP test and put in your web story’s URL.

Can you monetise a Google web story?
You can monetise web stories in a few different ways! Firstly you can use affiliate links, where you are rewarded by a site for guiding users to their chosen URL. You can embed these through the swipe up feature or as links on the pages, but it’s important to acknowledge that they are affiliate links.
You can also put ads into Google web stories, which appear as a single page. For this, you can use Google Ad Manager, which will decide when and how many ads to put into your stories. You can read more about this on the AMP site.
SEO and schema for web stories
AMP web stories require a certain amount of SEO and schema markup, just like a normal website page. The WordPress plugin does a small amount of this for you, but there are some things you can’t add yet that require additional plugins. This includes adding tags to your story to explain what it is, which Google have grouped into three categories: an Article, Blog Post or News Story.
Appearing in the XML sitemap
One of the most important things you can do is put your web stories into your XML sitemap. As Brodie Clark writes, URLs appearing in sitemaps account for roughly 20% of how Google discovers new pages – so it’s definitely worth doing!
SEO Plugin Options
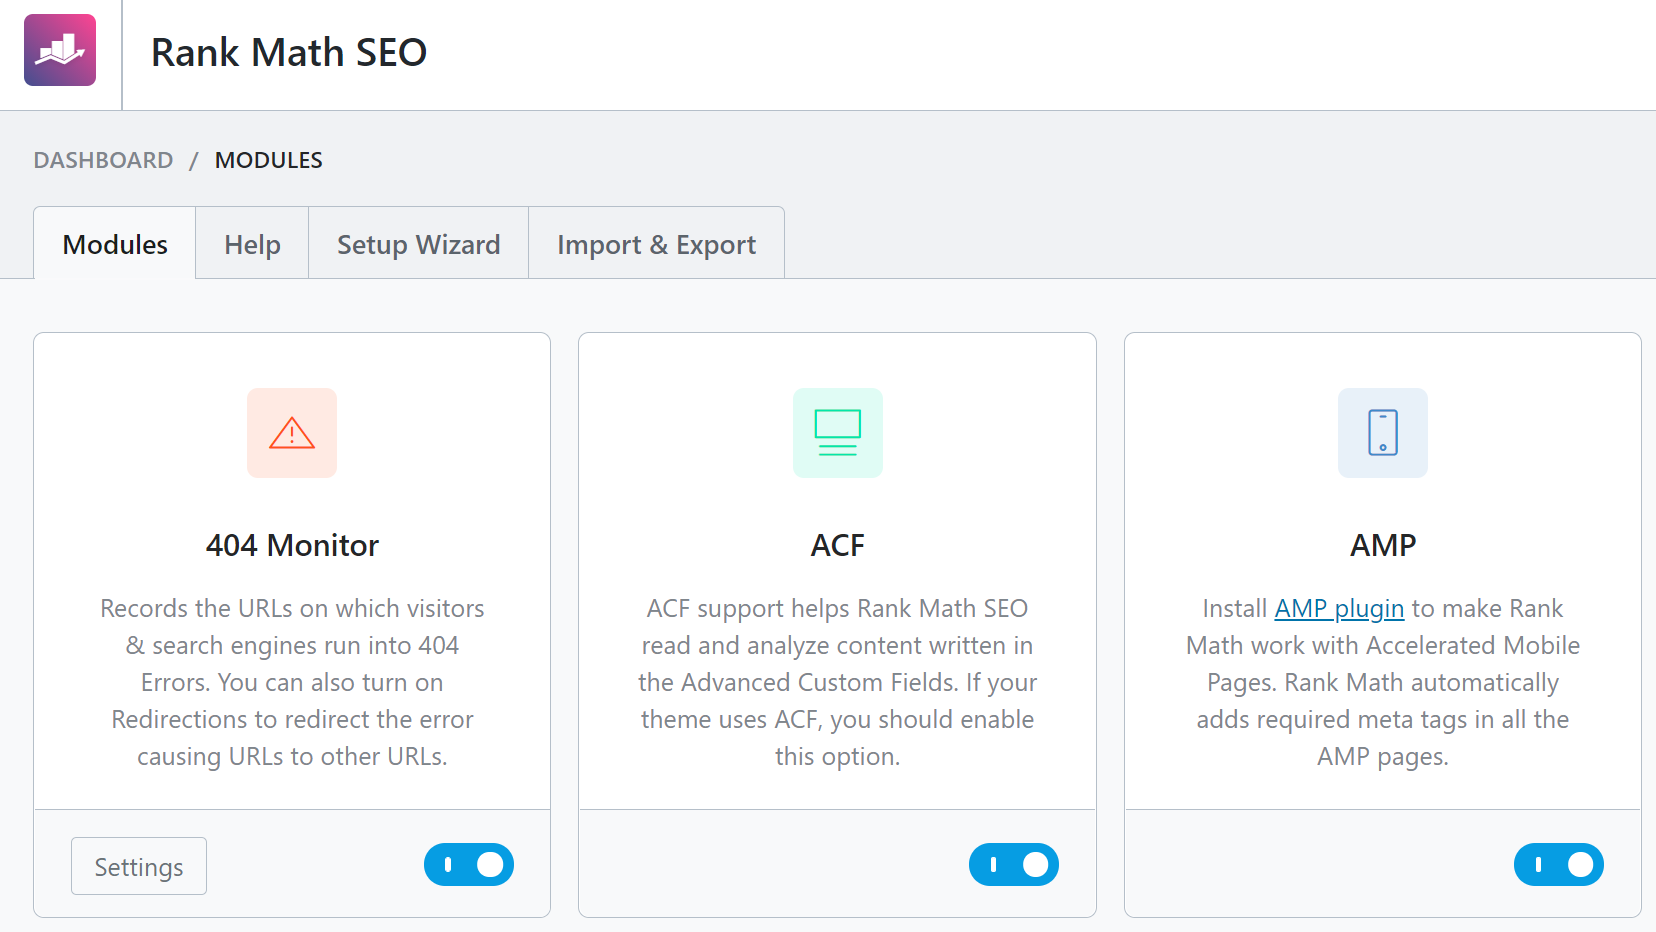
There are a couple of different options you can use to add the metadata you need to your web stories. Both Yoast and Rank Math plugins automatically add meta tags into the AMP pages.
For Rank Math, just go to Titles & Meta in the Rank Math Plugin, and then under Post Types you’ll see Stories. Here you can edit how story titles appear, change the schema types and add social media thumbnails.

Setting up Analytics
Like any webpage, it’s possible to track your engagement, impressions and clicks. One of the key differences in the WP web stories plugin from the beta is that you can add Google Analytics tracking straight from the plugin. To do this go to the Web Stories dashboard. In the menu on the left click Editor Settings.
Here you’ll see an option to add your Google Analytics Tracking ID. As it says, ‘The story editor will append a default, configurable AMP analytics configuration to your story.’ If you’re interested in adding more advanced tracking to your web stories, check out this article.
Want help with your Google web stories?
We love staying up to date on the latest and greatest SEO hacks so you don’t have to. We also love implementing them. If you recognise the benefits of web stories for your business but don’t know where to start, get in touch, and we’ll be happy to help.
