How to Configure Adyen and Adyen MOTO With Magento 2: A Step-by-Step Guide
What is Adyen?
Adyen is a global payment company that provides businesses with a modern end-to-end infrastructure for accepting electronic payments. It allows merchants to accept payments in mobile apps, online, and in-store. Founded in the Netherlands in 2006, Adyen has grown to serve many large global enterprises.
Benefits of Using Adyen:
- Global Reach: Adyen supports payment methods worldwide, allowing businesses to reach customers internationally.
- Unified Commerce: With Adyen, businesses can manage all their payments, whether they’re online, mobile, or in-store, in one system.
- Optimised Payment Flows: Adyen’s platform is designed to optimise payment acceptance rates, ensuring more transactions are successful.
- Advanced Risk Management: Adyen offers built-in tools to combat fraud, tailored to each business’s needs, without blocking genuine customers.
- Dynamic Currency Conversion: Customers can pay in their preferred currency, even if it’s different from the currency in which the business operates.
- Data Insights: Adyen provides detailed analytics and reporting, giving businesses insights into their performance and opportunities for growth.
- Easy Integration: Its APIs and documentation are user-friendly, making it easier for developers to integrate Adyen into various platforms, including e-commerce platforms like Magento.
- Transparent Pricing: Adyen offers a clear fee structure without hidden costs.
By offering a comprehensive set of tools and a global reach, Adyen has positioned itself as a preferred payment solution for many businesses looking to simplify and optimise their payment processes.
Setting up an Adyen and Magento 2 integration can be challenging. It took us some time to figure out, but now that we have, we want to share the process with you to make it easier for other developers.
Section 1: Setting up Adyen with Magento 2
Steps to Configure Magento and Adyen:
- Magento Admin Setup:
- Login to Magento admin.
- Go to:
Stores > Config > Sales > Payment Methods > Adyen > General Configurations.
- Adyen Dashboard Setup:
- Login to the Adyen dashboard.
- Navigate to:
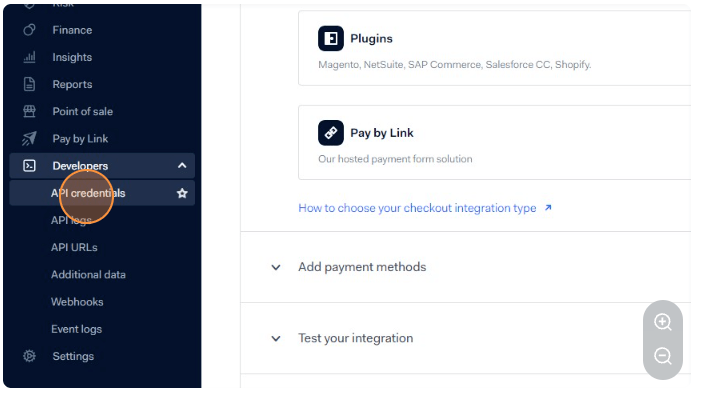
Developers > API credentials.
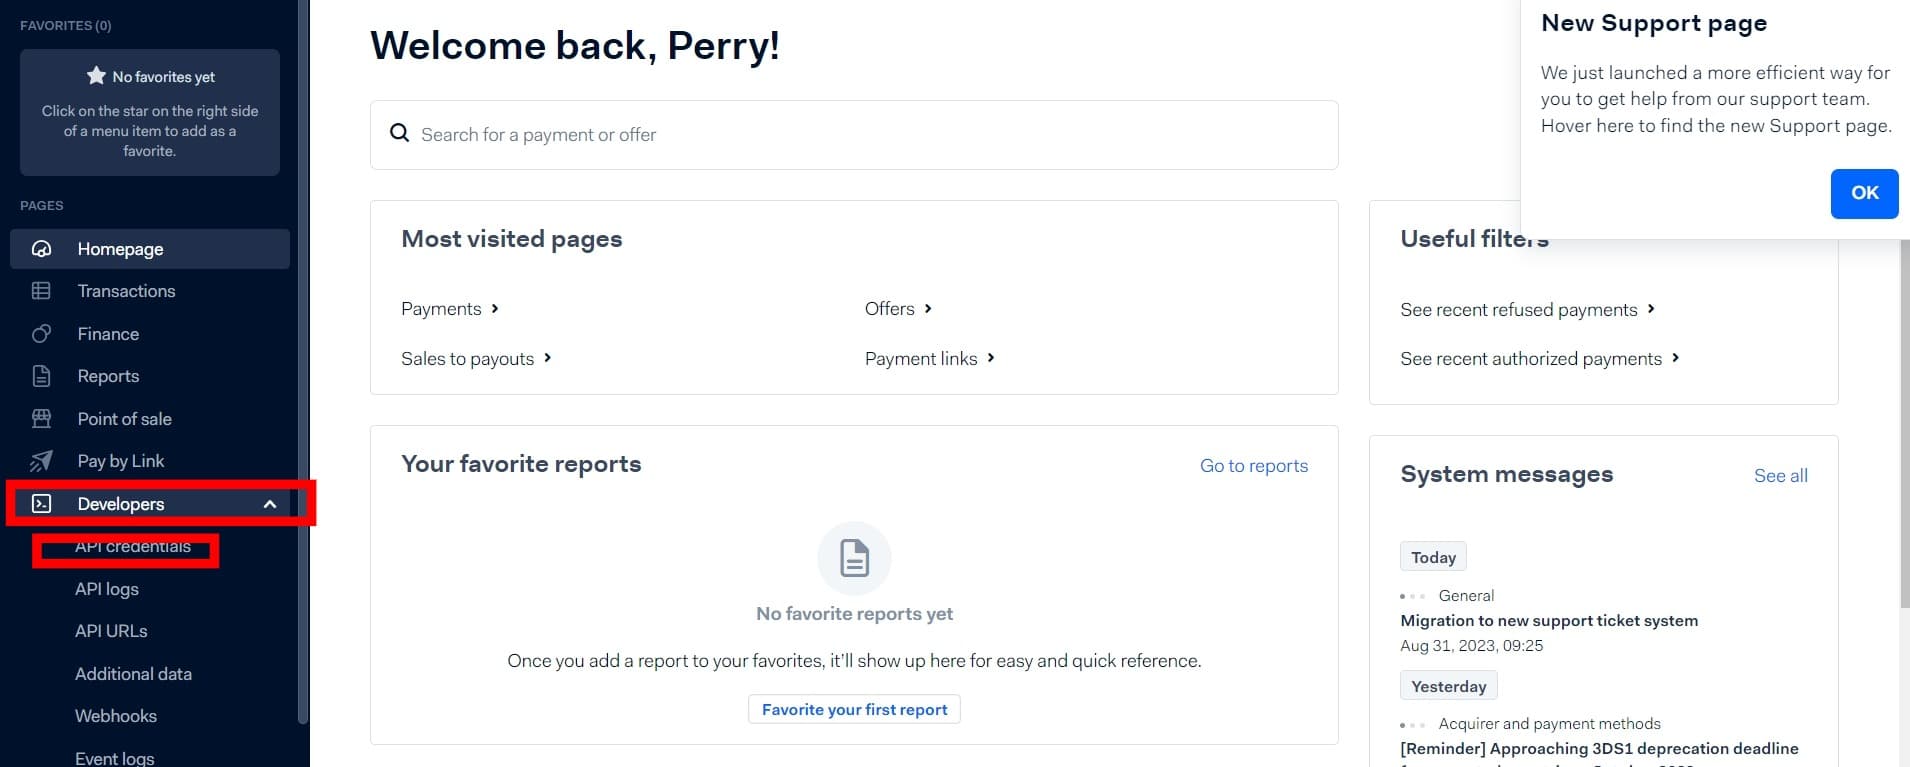

Top right – click: Create new credential
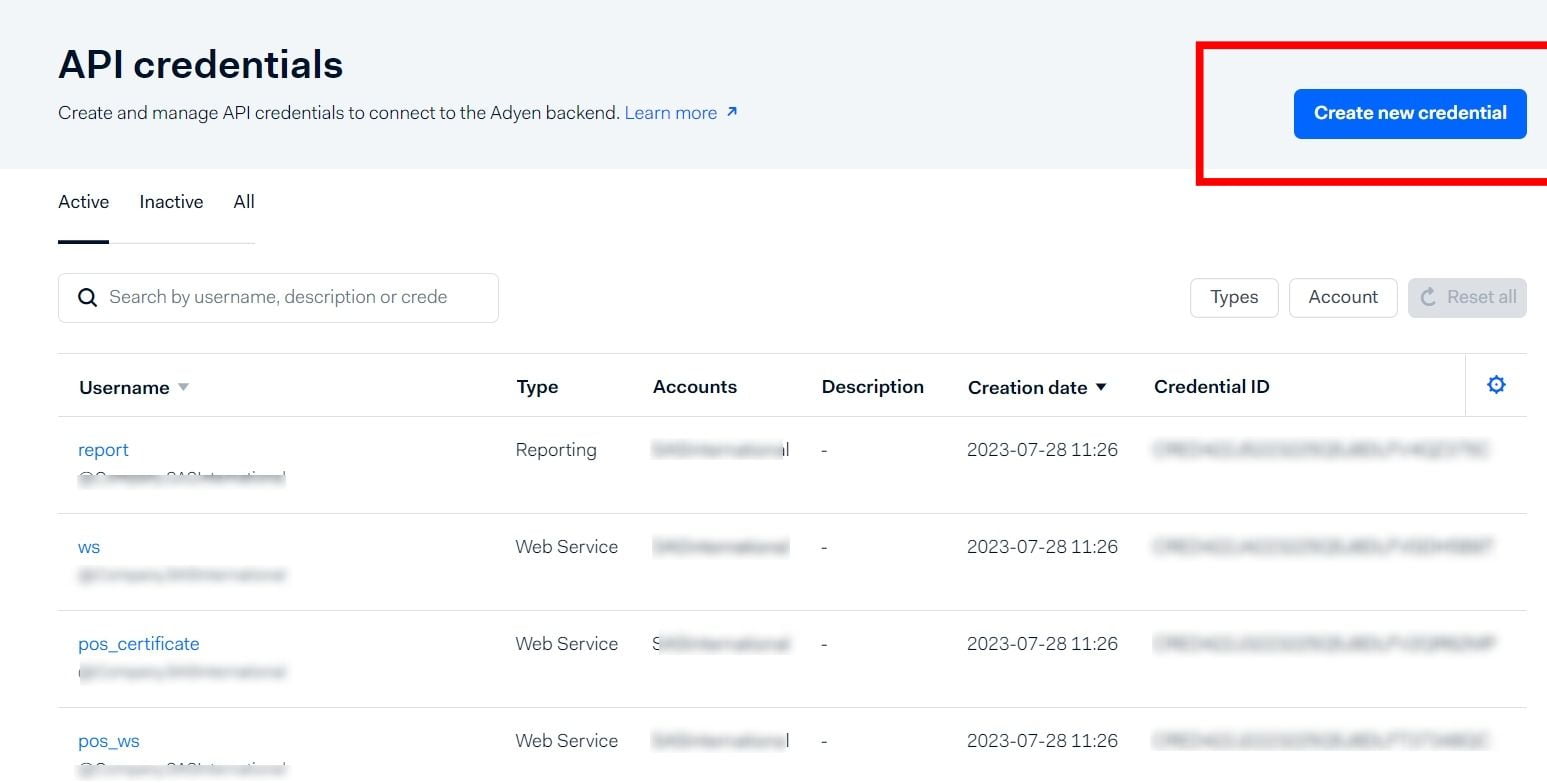

Setting Up Site Name, API and client Keys in Magento and Adyen:
For the following steps, you’ll need access to both the Adyen new credential screen and the Magento Adyen Configs screen:
Admin->config->sales->payment methods-> Adyen ->general
- Description:
- Add the site name to the description field in the “create new credential” screen (Adyen)
- API Key:
- Generate an API key in the “create new credential” screen (Adyen)
- Enter the generated key into the ‘API’ field (Magento)
- Client Key:
- Generate a Client key in the “create new credential screen” (Adyen)
- Enter the generated key into the ‘Client’ field (Magento)
- URL Configuration:
- Add your full site URL (make sure it starts with ‘https’) to the ‘Allowed Origins’ field in the “create new credential” screen (Adyen)
- Save Credentials:
- Save the details in Adyen.
- Save the details in Magento.
- Final Step:
- Clear the cache in Magento.
Webhooks
Webhooks help Adyen work properly. They update how much you paid and make sure the order status is right.
For a store to run smoothly, especially when connecting with other systems, webhooks need to work. If they don’t, orders will be accepted, but the payment details won’t be updated, and the order won’t move to the next step.
Webhooks can sometimes take up to 5 minutes to work. So, orders will wait in a “pending” mode until the webhook starts the billing process. Unlike other credit card methods, this might send both an order email and a bill email if both are active. When the webhook starts, it will activate any functions connected to the billing process unless we tell it not to.
Be aware that updating details in Adyen’s admin can take time. This might cause errors to appear when trying to fix issues.
Steps to Ensure Adyen Webhooks Are Working Properly:
Go to your Adyen admin account and create the webhook:
Developers → Webhooks.
While setting up, it’s a good idea to have the Magento admin panel open:
Stores → Sales → Payment → Adyen.
This way, you can quickly copy the details you need. If you don’t do this, you might not be able to access these details later.
Ensure you select all payment calls, even if you think you might not need them.
Next, enter the webhook details here:
Magento admin panel → Stores → Sales → Payment Methods → Adyen.
To test the webhook, do it on Adyen’s side (not Magento’s). Edit the webhook settings and click ‘Test’. If you get:
403– it needs white-listing.401– there’s a mismatch in settings. Check Magento Adyen logs for hints.
Go to:
Admin → Store → Payment → Sale → Adyen → Advanced.
Here, set the right status for orders after the webhook acts.
Clear the Magento Cache.
Double-check that the webhook credentials are the same in both the Magento admin and Adyen admin settings.
Make sure Adyen’s webhook is directed to:
{site url}/adyen/process/json.
(This isn’t mentioned in their guides.)
If you are using the adyen module version nine, the site URL changes to:
{site url}/adyen/webhook
If you have an existing webhook you may need to delete it and start again following this guide.
Contact your hosting provider and ask them to whitelist Adyen. You can find the required details at:
Adyen domain and IP addresses | Adyen Docs.
Confirm that Cron jobs are functioning as they should.
Place a test order using the Adyen payment method. The order should first show as ‘payment review’ status. After about 2-3 minutes, it should change to ‘processing’.
Section 2: Setting up Adyen Moto in Magento 2
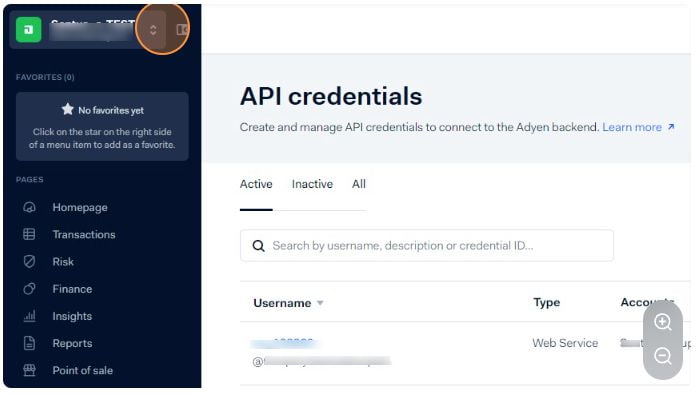
Navigate to Adyen: Login > Test
Click on the following:
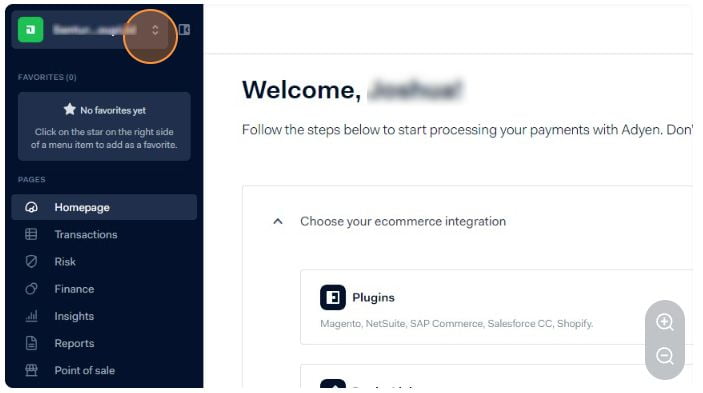

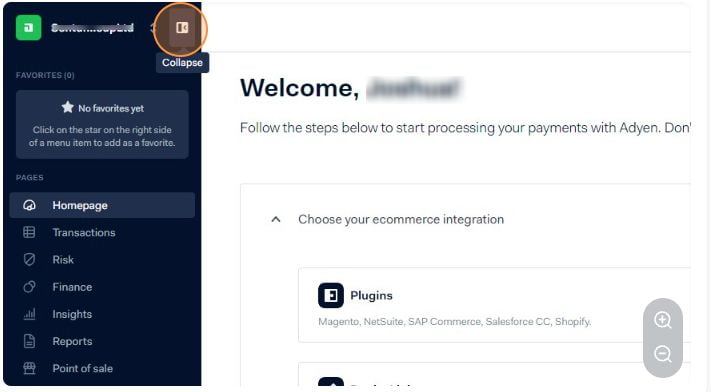

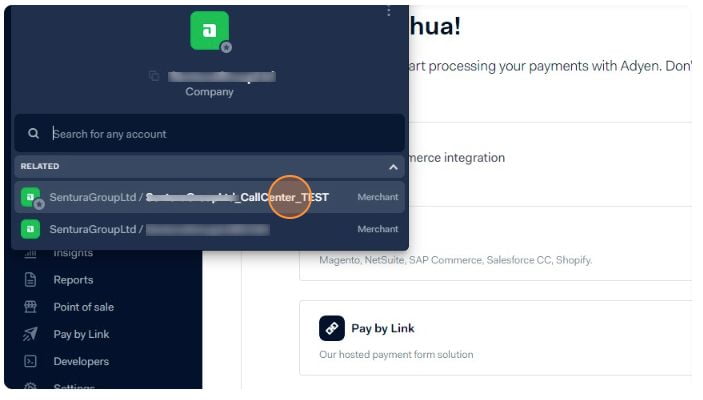

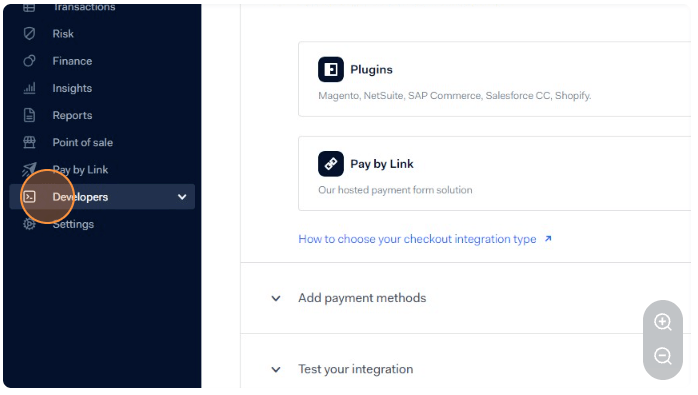
Developers:

API credentials:

Open a new tab and navigate to your Magento 2 store.
Once signed in click
> Stores > Configuration > General > Sales > Payment Methods
Next, click
> Configure payment methods
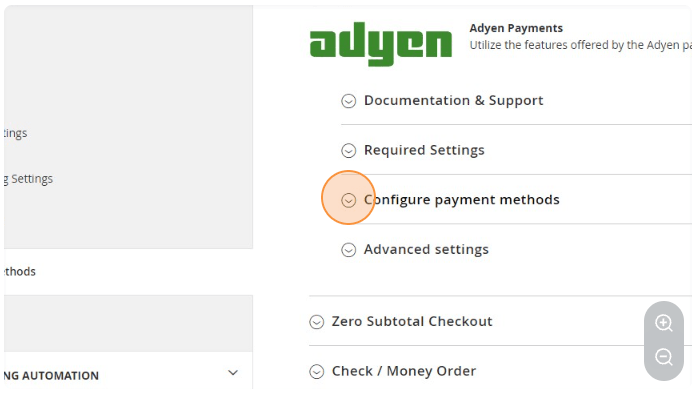

Click > Adyen MOTO
Select this text field:
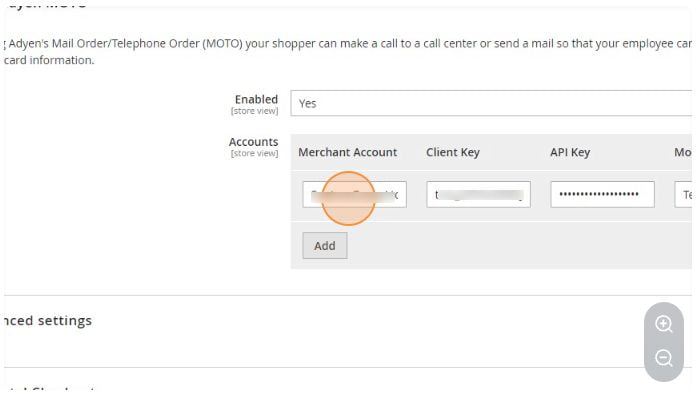

Ensure “mode” is set to “TEST”
Click here:

Use the name from the MOTO account:
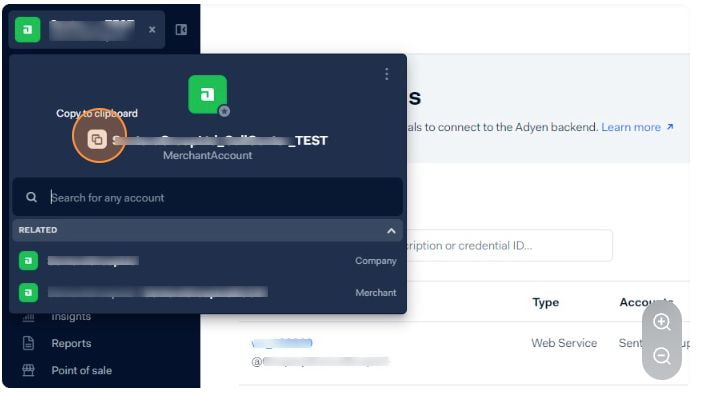

Add it to “Merchant Account”:
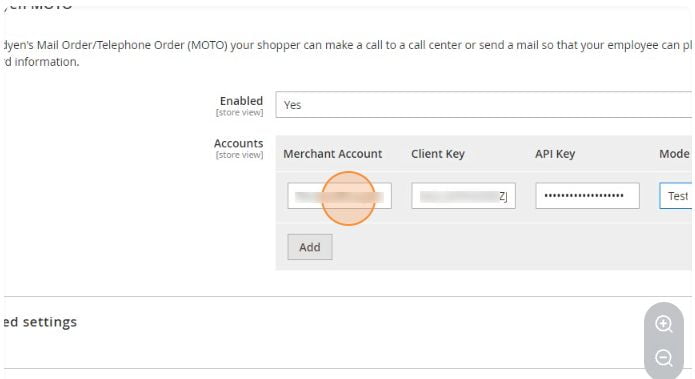

Click > API credentials > Create > manage API credentials to connect to the Adyen backend.
Click > Learn more > Create new credential
Enter a description > Create credential
Click > Generate API Key
Paste the API key into Magento:
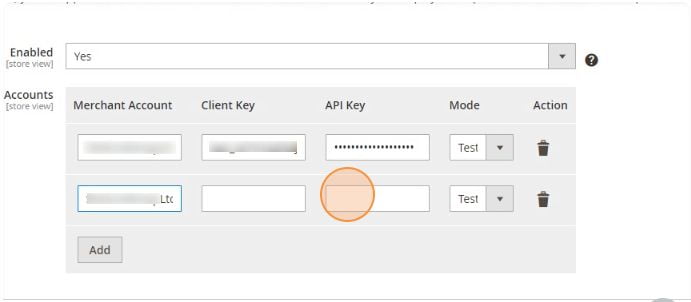

Generate API key:
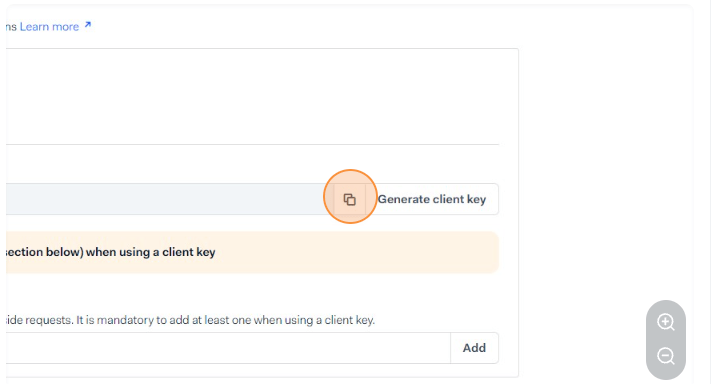

Paste in the API Key here:
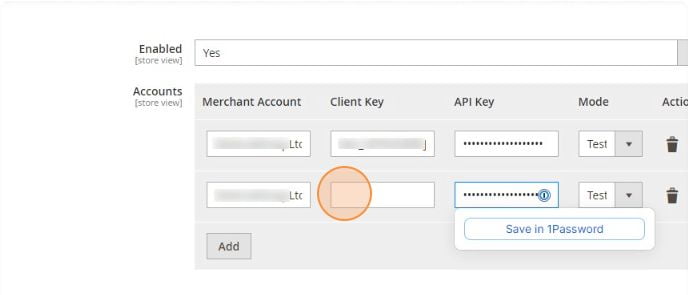

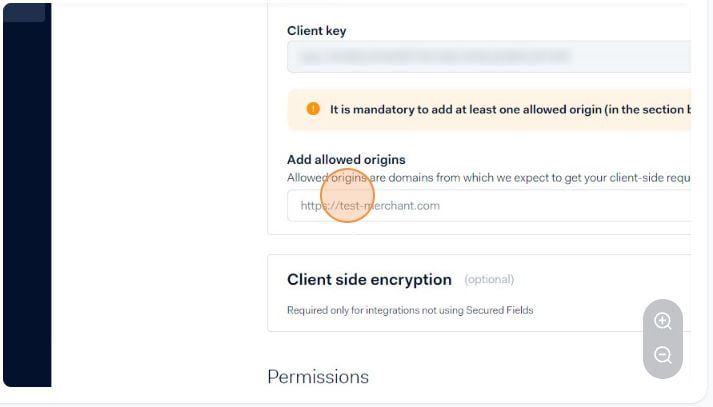
Add domain to allowed origins:

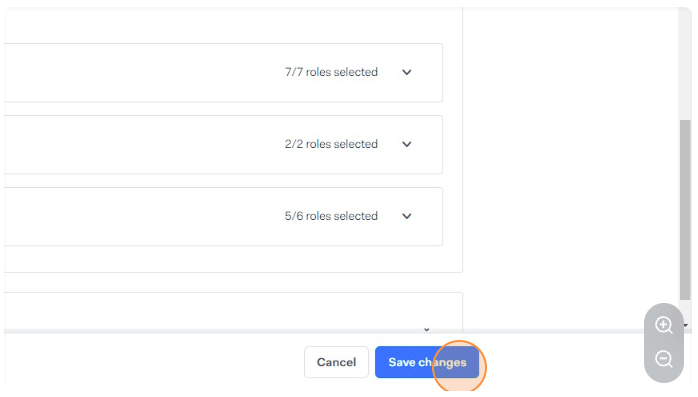
Click Save Changes:

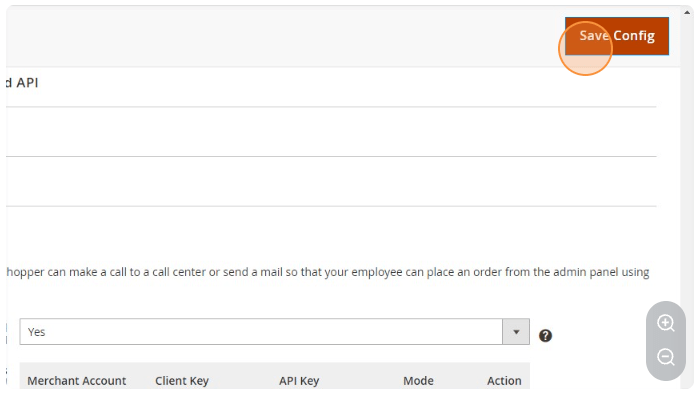
In Magento, click Save Config:

Click > System
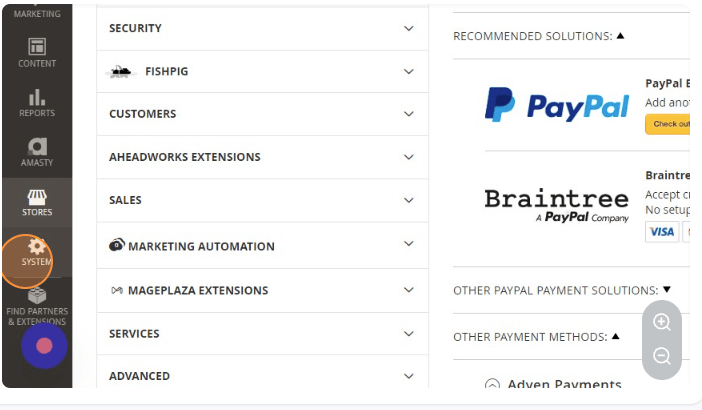

Click > Cache Management
Click:
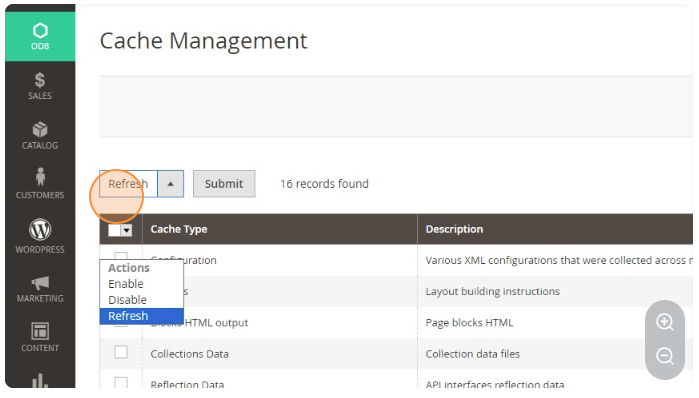

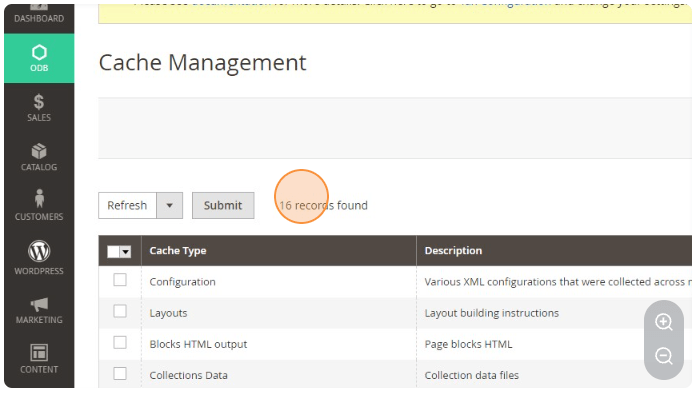

Choose > Configuration and Page Cache
Click > Submit
Congratulations! You have now set up Adyen API credentials for test development in Magento 2.
Need a pair of expert hands?
While our guide simplifies the process, why not skip the hassle and let our team handle the heavy lifting for you.
